

Although we are officially out of oyster season (months that end in “R”, remember?). It’s never a bad time to brush up on your oyster shucking skills. Whether you’re looking to impress your guests at the oyster roast or you just purchased an oyster shucking gift set and want to break it in. Oysters are one of the most delicious frutti di mare, especially when paired with a cold craft beer or Champagne of choice. However, the key is to know how to select your oysters and how to open them properly.
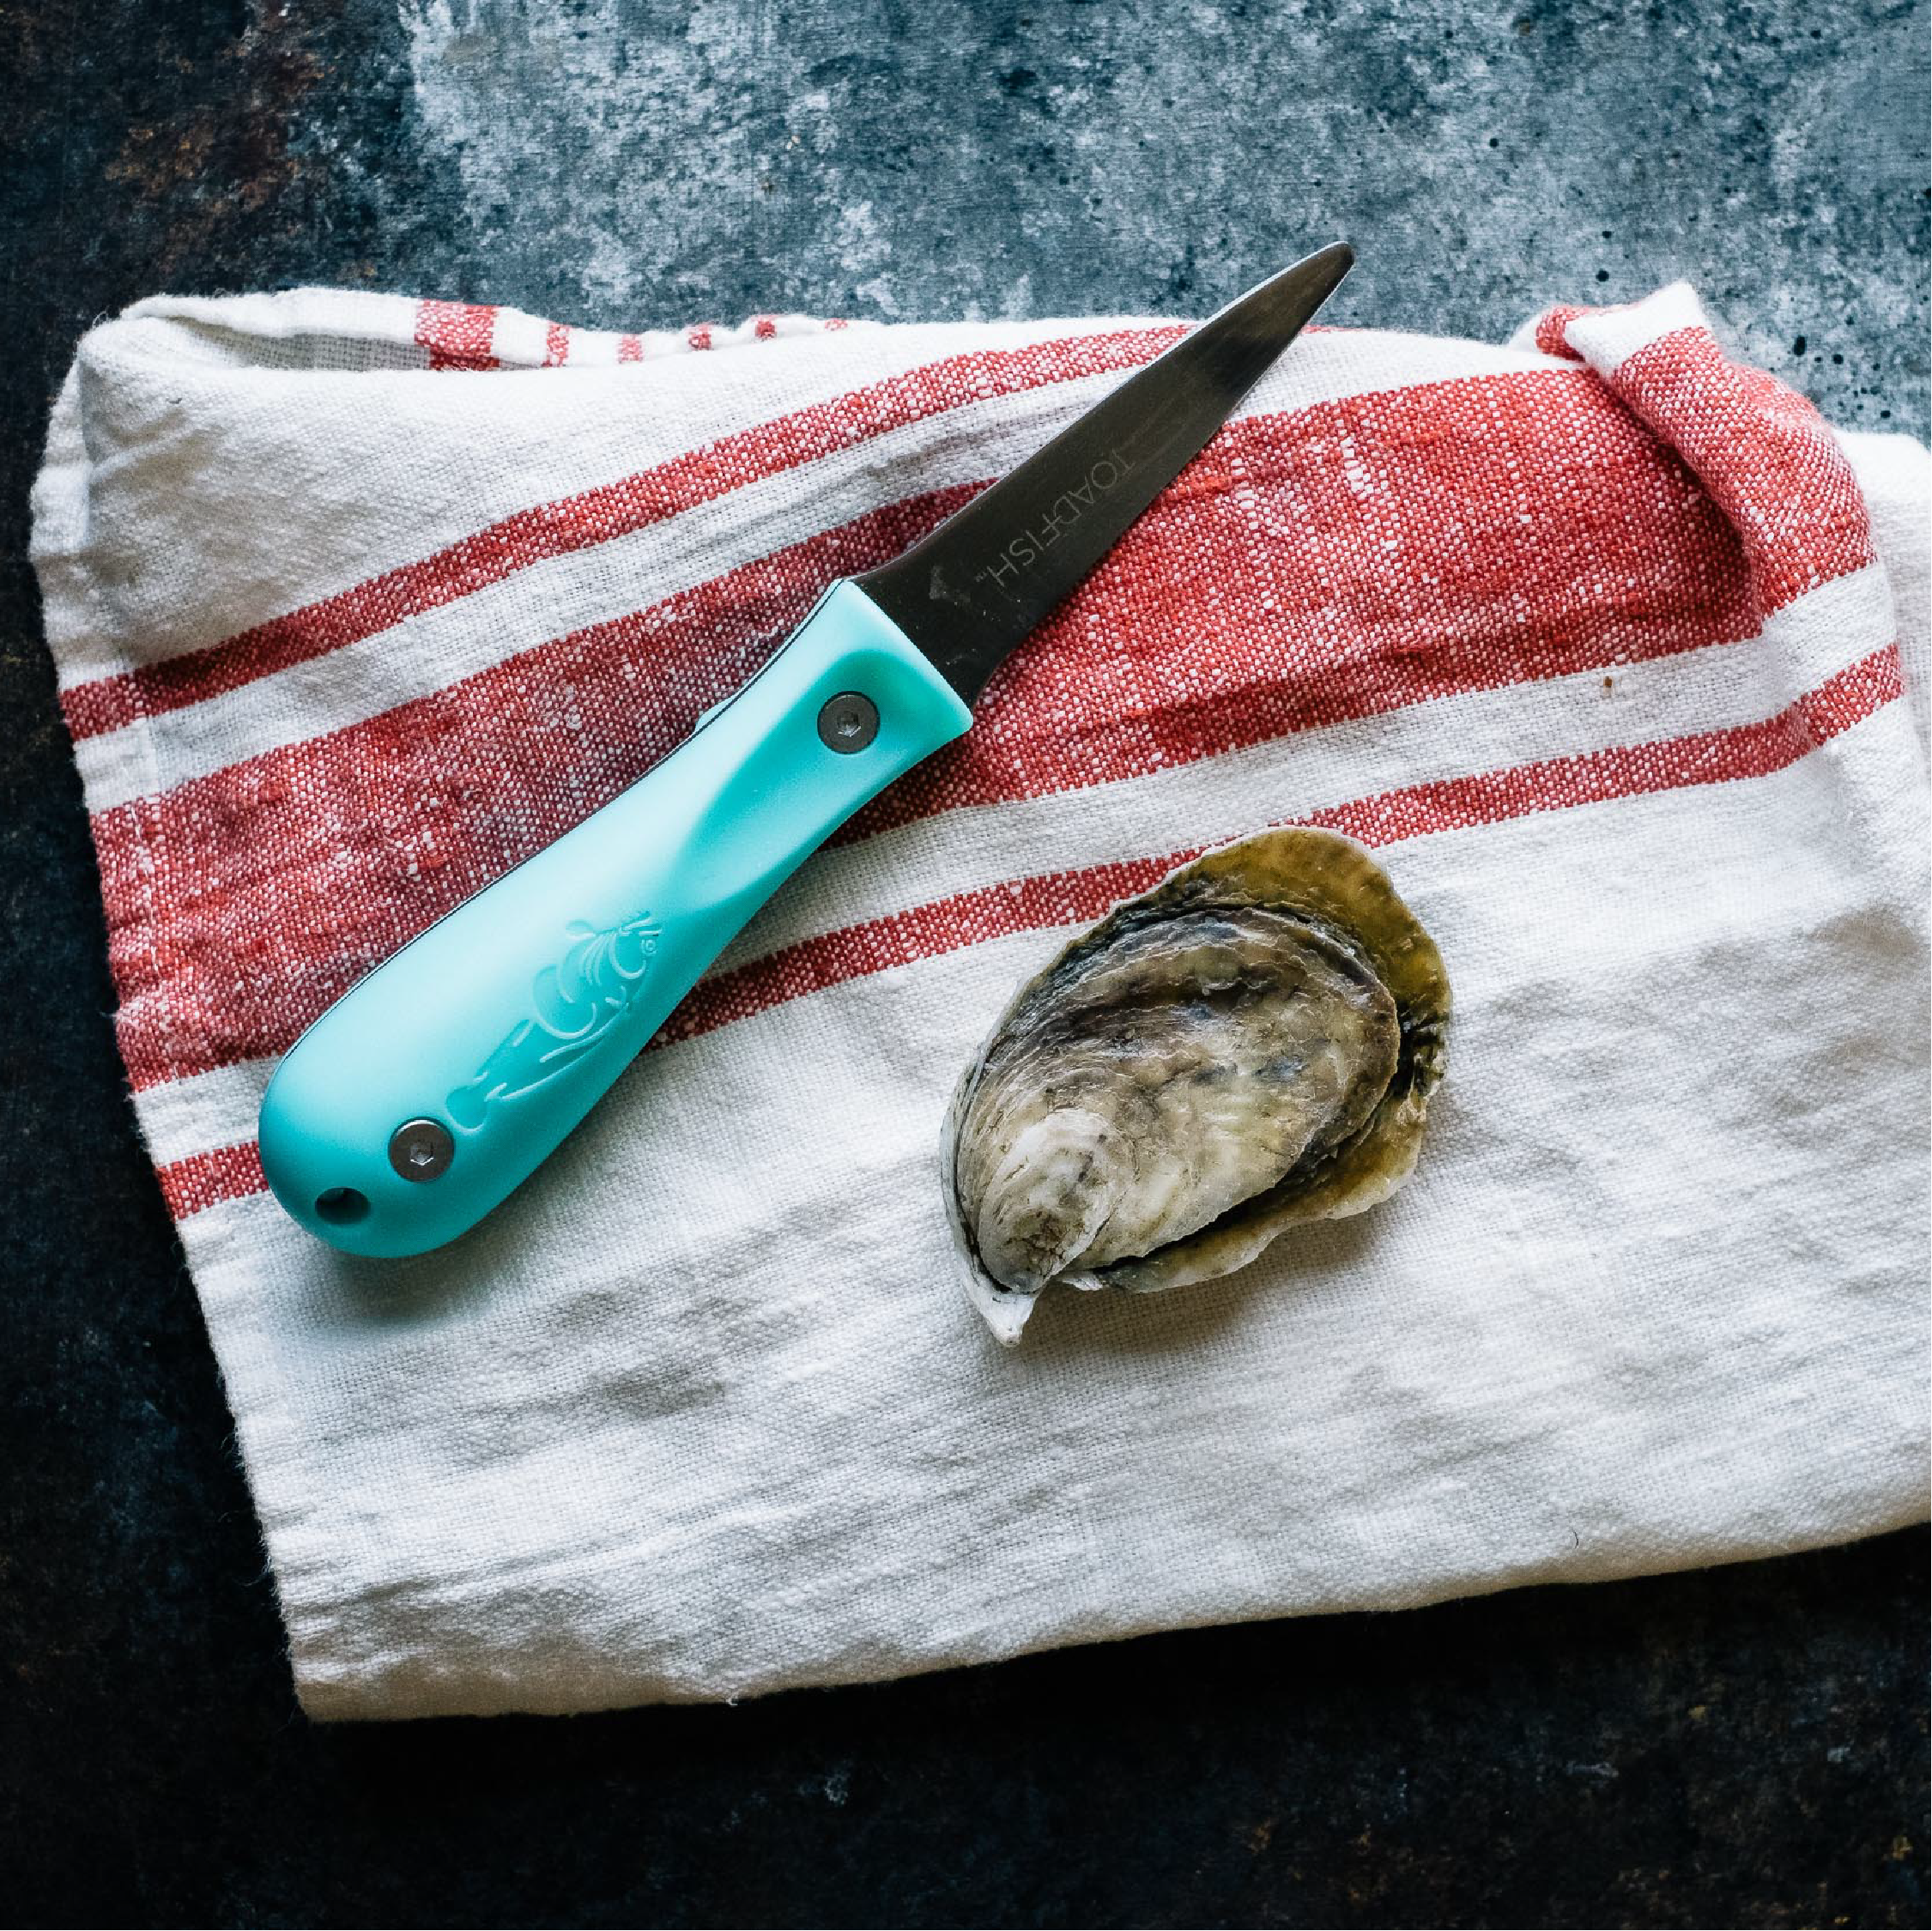
You’ll need an oyster knife with a thick blade that can be used to pry the back hinge open and separate the delectable meat from the shell. Luckily for you, we have just what you need to get the job done. In this article, you’ll learn how to clean and shuck an oyster correctly and efficiently.
Storing and Cleaning Oysters
Once you’ve selected and purchased your oysters, it is important that you store them in a container with the cupped side of the shell in a downward position in order to keep the salty, delicious saltwater inside. Lightly cover the container with a damp cloth to prevent suffocation. Oysters can be stored in the refrigerator for up to a week.
When ready to eat, it is time to clean the oysters. Run the oysters under cold water and use a towel or soft sponge to vigorously scrub the dirt and grime from the outer shell. Not only does this guarantee you won’t be ingesting any loose mud, sand, or nastiness, it allows for a very beautiful presentation when serving to guests.
Step by Step Oyster Shucking Guide
Practice makes perfect! Like anything else in life, the more you practice, the easier and quicker it’ll become. Stick with it and before you know it, you’ll be just as good as the professional raw-bar shucker… maybe.
Step 1: Create Your Workspace
Keeping a clean and organized workspace when shucking oysters is a must. We suggest filling a large bowl with ice and placing the oysters on top to keep them chilled the entire duration. Next, fold your Shucking Cloth or a clean kitchen towel into thirds. This will you grip the oyster firmly and protect your hand from any accidental slip up with your oyster knife.
Keep a garbage can or bag in reachable distance to you. This makes it easy to dispose of the empty shells after each shuck. Now it’s time to grab your first oyster and get started. First, examine the oyster closely. The cupped side should be downward facing while the flat side is the top shell. Most of the time, it is easy to tell the difference.
Step 2: Wrap The Oyster in your Shucking Cloth

Now that you’ve determined which side is the belly, set it belly-down on the shucking cloth. Position the hinge of the oyster to the side of your dominant hand. (Right-handed; face to the right. Left-handed; face to the left). Next, fold the chucking cloth over the oyster so that just the hinge is exposed and grip firm with your non-dominant hand. Use the cloth excess to create a barrier between your knife and hand for added protection.
Step 3: Place the Oyster Knife Tip in the Hinge of the Shell

Find the hinge of the oyster and work the knife tip into it. Although this can be difficult at time, our Oyster Knives feature a unique bent tip that makes finding and locking into that sweet spot much easier. In doing so, you aren’t trying to jam the knife deep into the hinge, rather, get the tip in there and gently wiggle the knife until you can begin to apply pressure safely.
Step 4: Twist and Pry
Once the tip of the knife has been placed into the hinge solidly, it’s time for the real fun. Work your oyster knife up and down in a twisting manner. What you are trying to do is find the right position to loosen the hinge and remove the top shell from the bottom. Don’t be too aggressive, as this may cause accidental injury or break the shell. Instead, apply enough pressure to keep the knife in the hinge.
Repositioning the knife is completely okay! With time, you’ll be able to find the perfect position and release the top shell from the bottom to open up the hinge.
Step 5: Rotate the Blade to Separate The Shells

Once the hinge has been exposed and the shell has been slightly opened, you’ll have to use your knife to pry the shells apart even further. Slide the knife in sideways and wiggle up and down to release the shells form each other.
This motion will result in the top and bottom shell completely removed from one another. Nicely done! You are almost there. Dispose of the top shell and keep the bottom shell in your hand.

Step 6: Free the Oyster From the Bottom Shell

Finally, you must sever the muscle from the bottom of the shell. This will help it to slide out of the shell when slurping them down. Use your knife to cut the connecting muscle by pushing it under the oyster until it’s totally free from the shell.
Now place the final product on your prepared ice platter. Grab your favorite oyster topping and enjoy!


Share:
Toadfish Donates $10K For 3D Printed Artificial Reef on Pamlico River
Dad-Approved Toadfish Father’s Day Gift Guide: 10 Great Gifts To Get Dad
23 comments
Абсолютно стильные события индустрии.
Актуальные мероприятия лучших подуимов.
Модные дома, лейблы, высокая мода.
Новое место для стильныех хайпбистов.
https://rftimes.ru/news/2024-03-03-russkiy-treyler-dramy-pamyat-s-dzhessikoy-chesteyn-i-piterom-sarsgaardom
https://mskfirst.ru/msk/2023-11-25-snizhenie-stoimosti-proezda-moskovskaya-kanatnaya-doroga
https://ekbtoday.ru/news/2023-12-01-v-detskom-lagere-solnyshko-v-sverdlovskoy-oblasti-umerla-15-letnyaya-vozhataya/
https://sochidaily.ru/read/2023-12-08-stroyashchiysya-v-sochi-tsentr-vosstanovleniya-sportsmenov.html
https://sochidaily.ru/read/2024-03-04-massovoe-dtp-v-sochi-tri-postradavshih.html
Полностью важные новинки моды.
Исчерпывающие мероприятия мировых подуимов.
Модные дома, лейблы, гедонизм.
Самое приятное место для стильныех людей.
https://omskdaily.ru/news/2024-02-06-otkrytie-goda-semi-v-omskoy-oblasti/
https://saratov.rftimes.ru/news/2024-02-28-pod-saratovom-v-dtp-pogibli-shest-chelovek-tela-izvlekli-gidravlicheskim-instrumentom
https://sevastopol.rftimes.ru/news/2024-05-11-v-sevastopole-muzhchina-oskvernil-simvoly-voinskoy-slavy-rossii-i-oskorbil-pamyat-frontovikov
https://msk.rftimes.ru/news/2024-05-08-poteplenie-v-moskve-nachnetsya-v-subbotu
https://mskfirst.ru/msk/2023-12-26-kolichestvo-zaderzhannyh-po-predprinimatelskim-statyam-v-moskve
Полностью актуальные новинки индустрии.
Важные мероприятия всемирных подуимов.
Модные дома, торговые марки, гедонизм.
Самое лучшее место для модных людей.
0901 https://vladnews.ru/2023-11-16/227949/demna_gvasaliya https://msk.rftimes.ru/news/2024-05-29-tragediya-v-rezultate-operatsii-22-letnyaya-studentka-iz-ufy-umerla-ot-sepsisa
https://enovosibirsk.ru/news/2023-11-25-putin-ozhidaet-predlozheniya-kabmina-po-sokrashcheniyu-vozrasta-obshchestvennogo-transporta/
https://mskfirst.ru/msk/2024-03-22-servis-vmeste-s-kulturoy-pomog-organizovat-v-moskve-25-tysyach-meropriyatiy
https://sochidaily.ru/read/2024-03-01-samolet-iz-peterburga-v-sochi-vernuli-v-pulkovo.html
https://chelyabinsk.rftimes.ru/news/2024-06-24-zaderzhan-vandal-isportivshiy-graffiti-v-chelyabinskom-podzemnom-perehode
Самые трендовые новости мировых подиумов.
Все эвенты лучших подуимов.
Модные дома, торговые марки, haute couture.
Новое место для трендовых хайпбистов.
https://emurmansk.ru/pub/2023-12-15-murmanskie-deputaty-podderzhali-izmeneniya-v-sertifikate-na-zhile-detyam-sirotam/
https://ekbtoday.ru/news/2023-12-24-vitse-mer-ekaterinburga-proveril-novyy-tramvay-do-akademicheskogo-rayona/
044 https://vladnews.ru/2023-11-16/227949/demna_gvasaliya https://orel.rftimes.ru/news/2024-04-08-prokuratura-obratilas-v-sud-s-iskami-k-spbgu-o-priznanii-nedeystvitelnymi-sertifikatov-migrantov
758https://vladnews.ru/2023-11-16/227949/demna_gvasaliya https://sochidaily.ru/read/2023-11-27-prognoziruetsya-snegopad-i-volnenie-na-more-v-sochi.html
https://rftimes.ru/news/2024-04-14-prirost-zabolevaemosti-koronavirusom-protivoyadie-kotorogo-ne-zhdali-mediki-obespokoeny-vspyshkoy-virusa
Несомненно актуальные события мировых подиумов.
Актуальные эвенты лучших подуимов.
Модные дома, бренды, гедонизм.
Лучшее место для модных хайпбистов.
https://rftimes.ru/news/2024-03-05-sekrety-proizvodstva-stekol-dlya-neboskrebov-i-aeroportov
https://ekbtoday.ru/news/2024-04-21-novosti-po-kosmicheskoy-programme-artemida-nekst/
https://sevastopol.rftimes.ru/news/2024-07-07-ostavshiesya-postradavshie-pri-atake-vsu-v-bolnitsah-sevastopolya-i-moskvy
https://emurmansk.ru/pub/2023-12-15-murmanskie-deputaty-podderzhali-izmeneniya-v-sertifikate-na-zhile-detyam-sirotam/
https://msk.rftimes.ru/news/2024-03-03-sinoptiki-predupredili-o-nebolshih-osadkah-v-moskve-2-marta